Easy Homemade Pickled Jalapeños – Spicy & Tangy
Homemade pickled jalapeños are the secret weapon in my kitchen, transforming ordinary meals into something extraordinary with just a few vibrant, spicy slices. If you’ve ever found yourself reaching for that jar of store-bought heat, you know the siren song of that tangy, fiery crunch. But let me tell you, nothing compares to the burst of flavor and satisfying texture you can achieve when you make your own pickled jalapeños at home. The reason we all love them so much is their incredible versatility – they’re perfect on tacos, nachos, sandwiches, burgers, or even just straight from the jar (I won’t judge!). What makes homemade pickled jalapeños truly special is the control you have over the spice level and the brine. You can tailor them to your exact preference, ensuring every bite is a perfectly balanced explosion of deliciousness.
Spice Up Your Life: The Magic of Homemade Pickled Jalapeños
Unlock a World of Flavor
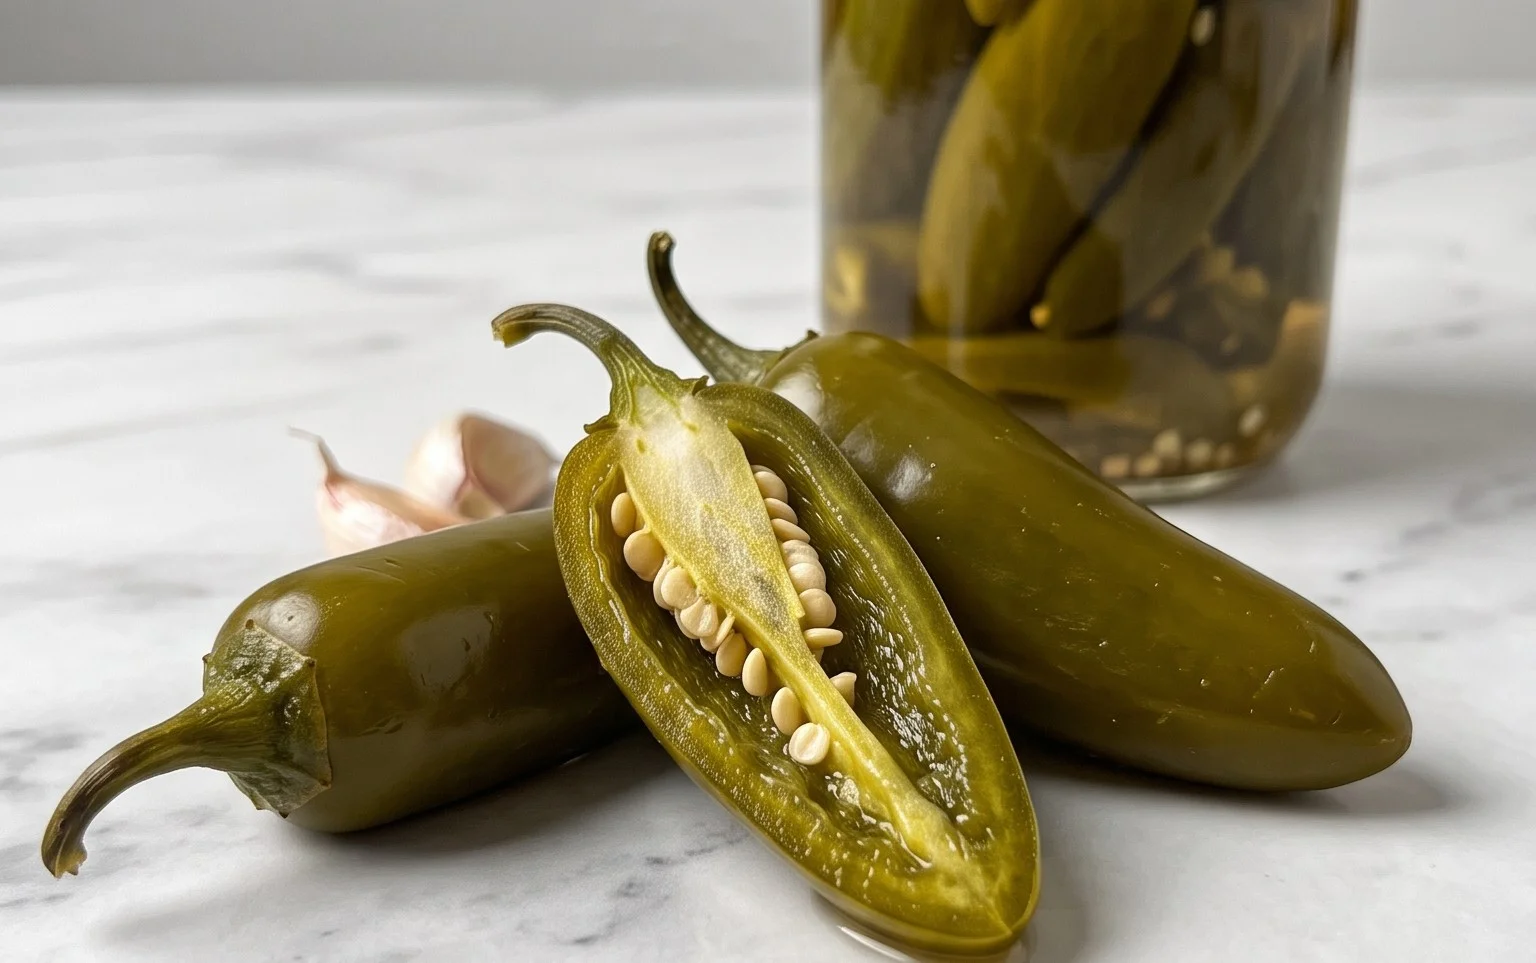
Homemade Pickled Jalapeños
There’s something incredibly satisfying about pulling a jar of vibrant, crisp pickled jalapeños from your refrigerator, knowing you made them yourself. Whether you’re a fan of a little heat on your tacos, a zesty addition to your sandwiches, or just love the tangy kick they bring to pizzas, homemade pickled jalapeños are a game-changer. Forget those store-bought versions that can sometimes be bland or overly soft. Making them at home allows you to control the spice level, the crunch, and the overall flavor profile. Plus, it’s surprisingly simple and requires just a few pantry staples. Get ready to elevate your culinary creations with this easy recipe!
Ingredients:
- 1 pound jalapeños, stems removed and thinly sliced
- 2 garlic cloves, smashed and peeled
- 1 cup distilled white vinegar
- 1 cup water
- ¼ cup granulated sugar
- 2 tablespoons kosher salt
Cooking Instructions
This recipe is designed for simplicity and speed, allowing you to enjoy your pickled jalapeños in just a few short hours, though they get even better with a little time. We’ll start by preparing our jalapeños and then move on to creating the flavorful brine that will transform them.
Step 1: Prepare the Jalapeños and Garlic
First things first, let’s get our star ingredients ready. Thoroughly wash your pound of jalapeños under cool running water. Once clean, it’s time to remove the stems. You can do this by simply twisting or cutting them off. For this recipe, we want to thinly slice the jalapeños. Aim for slices that are about 1/8 inch thick. The thickness will affect how quickly they pickle and their final texture. Thinner slices will become tender more quickly and absorb the brine faster. If you prefer a less intense heat, you can remove the seeds and membranes before slicing. However, for a classic pickled jalapeño experience, leaving them in adds to that signature kick. Don’t forget to wear gloves if you have sensitive skin, as jalapeño oils can cause irritation. Next, take your 2 garlic cloves. We want to smash them lightly with the flat side of a knife. This releases their aromatic oils and infuses the brine with a lovely garlicky essence. No need to chop them finely; smashing is perfect here.
Step 2: Create the Pickling Brine
Now comes the magical part: creating the brine. In a medium saucepan, combine 1 cup of distilled white vinegar, 1 cup of water, ¼ cup of granulated sugar, and 2 tablespoons of kosher salt. Distilled white vinegar is ideal because it has a neutral flavor and consistent acidity, which is crucial for proper pickling. Using other vinegars, like apple cider vinegar, can alter the color and flavor profile. The sugar is not just for sweetness; it also helps to balance the acidity of the vinegar and contributes to the jalapeños’ crisp texture. Kosher salt is preferred for its larger, flakier crystals, which dissolve more easily and are less likely to make your brine too salty compared to fine table salt. Place the saucepan over medium heat. Stir the mixture continuously until the sugar and salt have completely dissolved. You’ll know they’re dissolved when the liquid becomes clear and you no longer see any granules at the bottom of the pan.
Step 3: Heat and Combine the Brine
Once the sugar and salt are fully dissolved, bring the brine mixture to a gentle boil. Allow it to boil for just a minute or two to ensure everything is well combined and heated through. This heating process also helps to sterilize the brine slightly, which is beneficial for preservation. While the brine is heating, you can prepare your storage jar. Make sure you have a clean, sterilized glass jar ready. A pint-sized or quart-sized jar typically works well for this amount of jalapeños. Now, carefully add your sliced jalapeños and the smashed garlic cloves to the clean jar. Pack them in relatively snugly, but don’t force them down so much that they become bruised. Leave about ½ inch of headspace at the top of the jar.
Step 4: Pour the Brine and Seal the Jar
Once the brine has reached a rolling boil for a minute, remove the saucepan from the heat. Very carefully, pour the hot brine over the jalapeños and garlic in the jar. Make sure to completely submerge the jalapeños. You want every piece to be covered by the liquid for even pickling and to prevent spoilage. Use a clean spoon or chopstick to gently stir the contents of the jar, releasing any trapped air bubbles. This is important for ensuring the brine penetrates all the nooks and crannies. Once the jalapeños are fully submerged and air bubbles are removed, leave about ½ inch of headspace at the top of the jar. Place the lid on the jar and screw it on tightly.
Step 5: Cool and Refrigerate
Now for the patient part! Allow the sealed jar of pickled jalapeños to cool down on your countertop to room temperature. This process can take a couple of hours. Once the jar is completely cool to the touch, transfer it to the refrigerator. For the best flavor and texture, I recommend letting them pickle for at least 24 hours before enjoying. However, the longer they sit in the refrigerator, the more the flavors will meld and deepen. You’ll notice the vibrant green color of the jalapeños may deepen slightly as they pickle. They will continue to crisp up in the refrigerator. These homemade pickled jalapeños will stay fresh in the refrigerator for several weeks, making them a fantastic pantry staple. Enjoy them on sandwiches, burgers, pizzas, as a side for Mexican dishes, or straight from the jar for a spicy kick!
Conclusion:
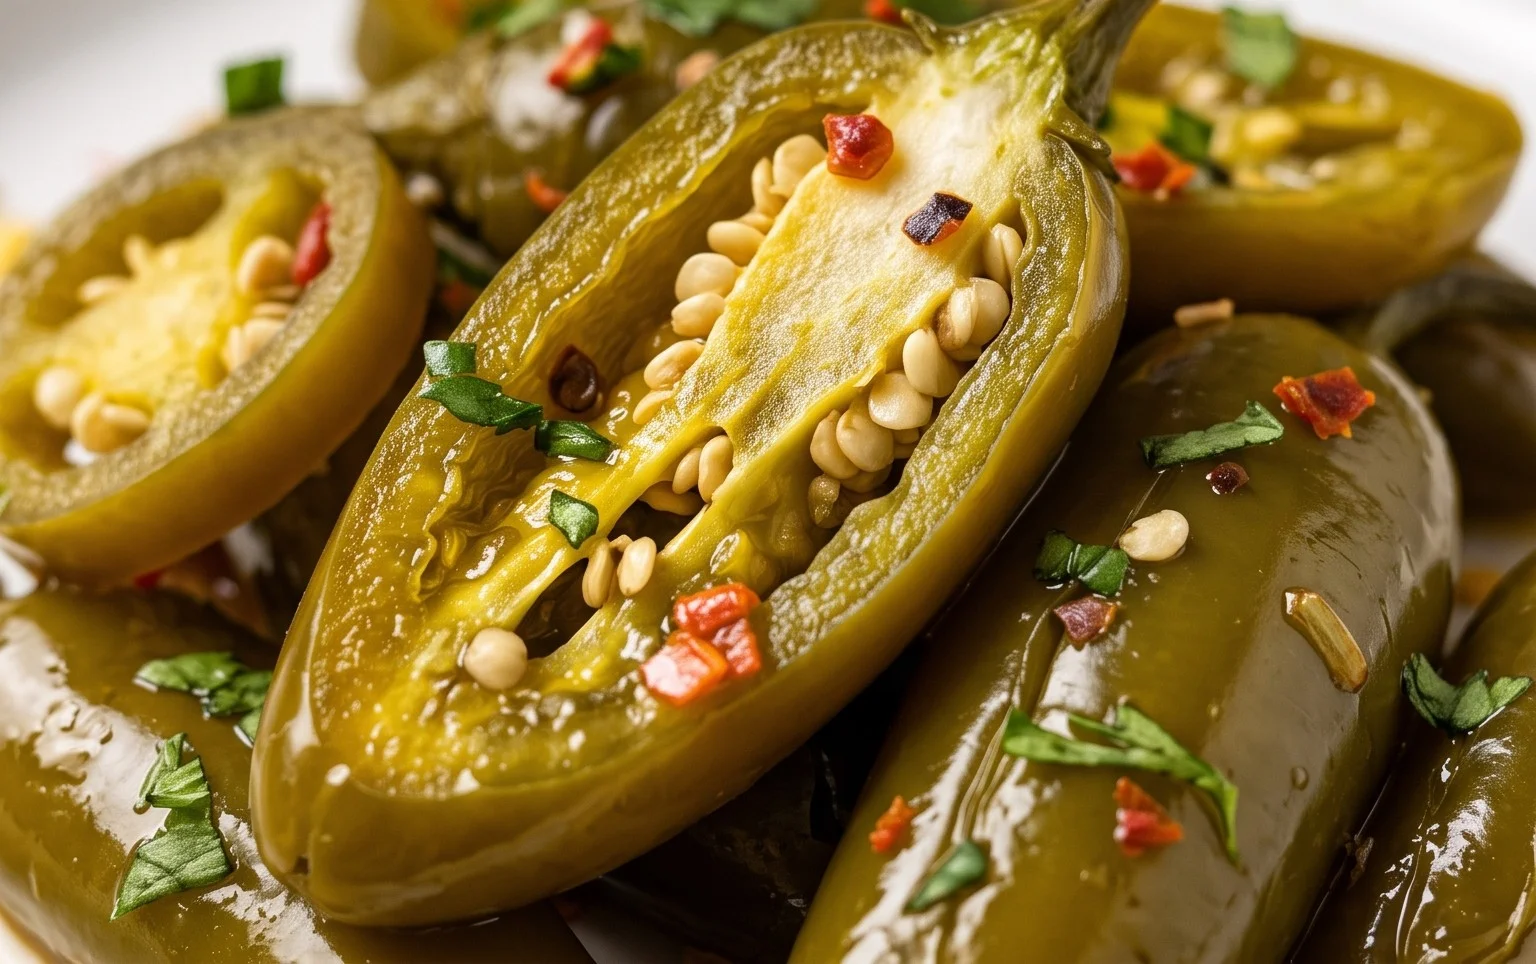
There you have it – a simple yet incredibly rewarding recipe for homemade pickled jalapeños! This method is fantastic because it allows you to control the brine’s flavor profile and the spice level of your jalapeños. You’re no longer limited by what you find in the grocery store; you can craft the perfect tangy, spicy addition to any dish. Imagine the vibrant crunch and zesty kick these beauties will bring to your tacos, burgers, nachos, or even just a simple cheese board. The possibilities are truly endless!
I encourage you to give this recipe a try. It’s surprisingly easy, and the satisfaction of pulling a jar of perfectly pickled jalapeños from your fridge is immense. Don’t be afraid to experiment with variations; adding garlic cloves, peppercorns, or even a sprig of dill can create exciting new flavor dimensions. Embrace the pickling adventure – you won’t regret it!
Frequently Asked Questions:
How long do these pickled jalapeños last?
When stored properly in an airtight container in the refrigerator, your homemade pickled jalapeños should stay fresh and delicious for several months, often up to 2-3 months. Ensure the jalapeños are fully submerged in the brine.
Can I adjust the spice level of the pickled jalapeños?
Absolutely! To make them less spicy, you can remove the seeds and membranes from the jalapeños before pickling. For an even milder flavor, you can also blanch the jalapeños briefly in boiling water before adding them to the brine. Conversely, for extra heat, you could add a pinch of red pepper flakes to the brine.
What’s the best way to use these pickled jalapeños?
The versatility of these homemade pickled jalapeños is incredible! They are a game-changer on sandwiches, as a topping for pizza, stirred into potato salad, or served alongside grilled meats. Don’t forget them for your next batch of guacamole or as a vibrant garnish for Bloody Marys!
Homemade Pickled Jalapeños
Quick and easy recipe for vibrant, homemade pickled jalapeños with a balanced sweet and salty brine.
Ingredients
-
1 pound jalapeños, stems removed and thinly sliced
-
2 garlic cloves, smashed and peeled
-
1 cup distilled white vinegar
-
1 cup water
-
1/4 cup granulated sugar
-
2 tablespoons kosher salt
Instructions
-
Step 1
Prepare the jalapeños: Wash the jalapeños, remove the stems, and thinly slice them. For a milder pickle, remove the seeds and membranes. -
Step 2
Prepare the garlic: Smash and peel the garlic cloves. -
Step 3
Make the brine: In a medium saucepan, combine the distilled white vinegar, water, granulated sugar, and kosher salt. Stir until the sugar and salt are dissolved. -
Step 4
Heat the brine: Bring the brine mixture to a boil over medium-high heat. Reduce heat and simmer for 1 minute. -
Step 5
Combine ingredients: Place the sliced jalapeños and smashed garlic cloves into a clean glass jar or heatproof container. -
Step 6
Pour the brine: Carefully pour the hot brine over the jalapeños and garlic, ensuring they are fully submerged. Leave about 1/2 inch of headspace at the top. -
Step 7
Cool and refrigerate: Let the jar cool to room temperature. Once cooled, seal the jar tightly and refrigerate for at least 24 hours before serving to allow the flavors to meld.
Important Information
Nutrition Facts (Per Serving)
It is important to consider this information as approximate and not to use it as definitive health advice.
Allergy Information
Please check ingredients for potential allergens and consult a health professional if in doubt.